Building a customised fixed gear in 12 hours
|
Click on images for larger versions |
|
|
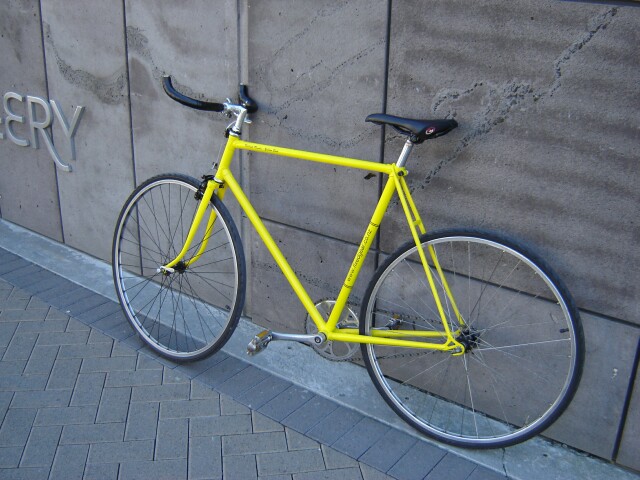
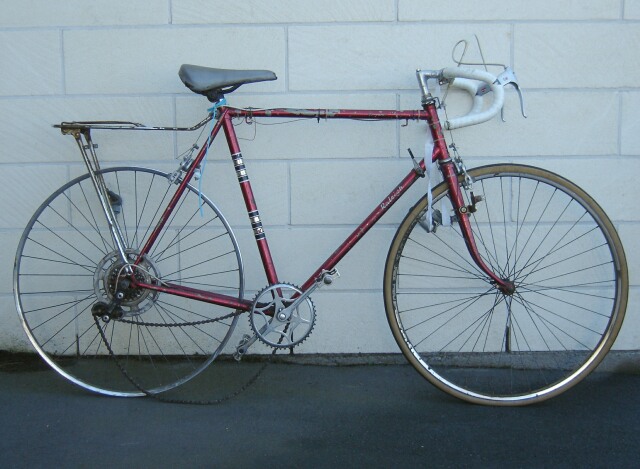
After spending many hours and Dollars building my last bike, I wondered what sort of result could be obtained by quickly throwing together a simple bike that has no gears or other 'extras', while spending as little dosh as possible. Say, buy an old bike on TradeMe (the New Zealand equivalent of eBay), pull all the gears and brakes off, convert it to fixed gear, and maybe give it a quick coat of paint. Quick, simple, cheap. Some lurking in the cycling area of TradeMe revealed the somewhat disfunctional mens bike that you see on the right. I placed a bid of $1, and much to my surprise actually won the auction. |
|

|
|
After picking the bike up from the seller, I discovered it to be an old Raleigh Royale. Inspection of the frame revealed that a re-paint would be necessary. I had planned on an eight hour rebuild, perhaps during a long sunny Saturday, but the necessity of a re-paint (and associated drying of said paint) would mean the build would take longer than one day. I decided that eight hours, but not all at once might be more realistic. I started by first lubricating all the parts on the bike, then leaving it to sit for a few days until I had more time. It was then easy to remove all the gears, seat post, brakes, brake levers etc. In very little time I had it down to the bare frame plus bottom bracket and cranks. At this point things came unstuck and I spent some 2.5 hours removing the cottered cranks and the seriously seized bottom bracket. At the end of this I'm ashamed to say the bottom bracket was toast. About this time I found out that Raleigh have a different standard for threads, and nothing locally available today would fit the now somewhat mangled bottom bracket shell. Doh! |

|
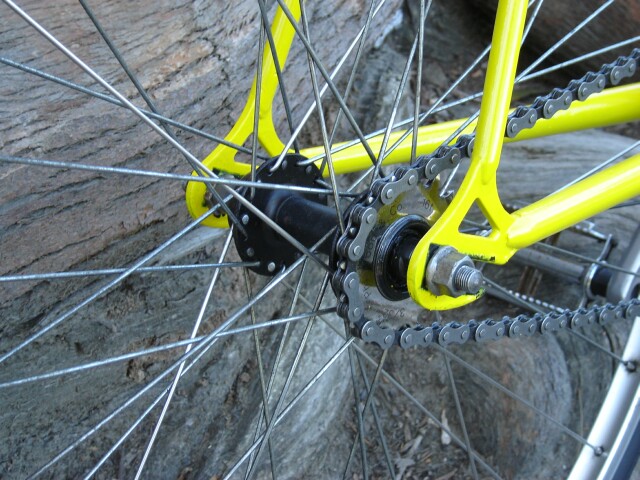
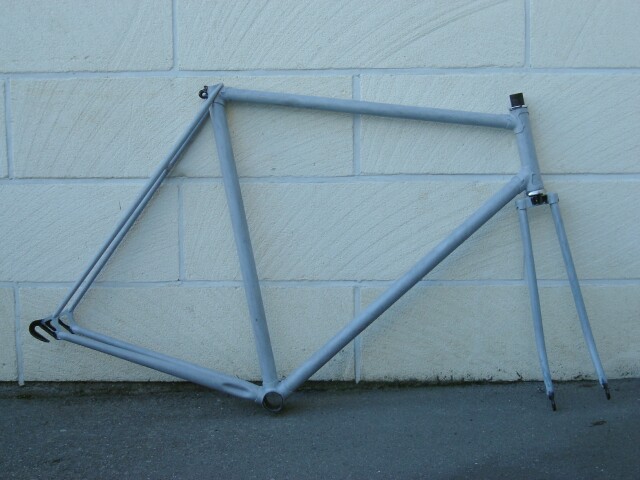
Not being one to give up, I went to the local bike shop, who for a fee re-threaded the bottom bracket shell to ISO standard. At the same time I bought a cheap cartridge bottom bracket to give me a 42mm chain-line, the standard for track bikes. With a $20 angle grinder (bought from Bunnings no less), I removed all of the extra frame braze-ons, giving a much cleaner look. The front brake would be all that would be going back on this baby. |
|

|
|
Next I used a 3M sanding wheel fitted to an electric drill to remove most of the paint, and all of the surface rust. After a wipe down, I painted the drop-outs, seat post binder area, and front brake mount area with POR-15 paint. This paint is supposedly very tough and I wanted to improve on my previous attempts where wheel axle nuts and other frame mounted parts bite into the paint and look awful. Time will tell if the POR-15 is all it is cracked up to be. For cosmetic reasons I used auto body filler to cover up the rear brake mounting hole, as well as other areas where I had been a little over enthusiastic with the grinder. After curing then sanding, I put a coat of bare metal etch paint over the entire frame. |

|
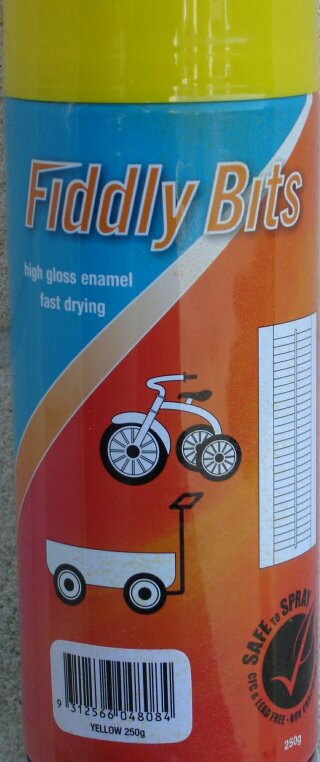
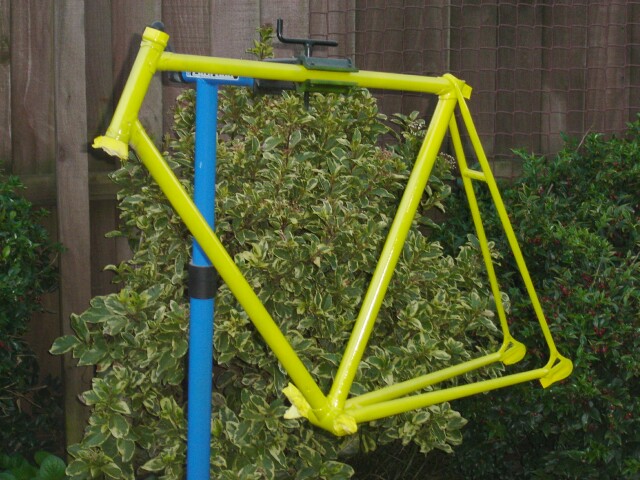
Some sanding and one can of Fiddly Bits enamel paint later, we see things starting to take shape. This paint was the cheapest I could find; $5 a can from Bunnings. I expect it will flake off if I look at it sideways. Still, this is supposed to be a budget conversion after all. It did not take long to see that it was going to take more than the two cans of paint I bought from the shop to cover the frame properly. So a quick trip was made to pick up another two cans. After three and a half cans, the frame was starting to look pretty well covered. Yellow is not the best colour to paint something if you don't want whatever is underneath to show through. A darker colour is better in this regard, but darker colours don't work well with laser-printed decals - the next item on my agenda. |
|
|
|
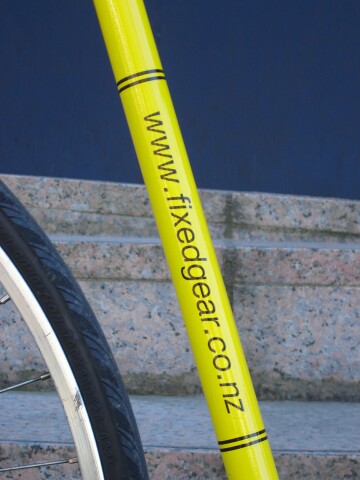
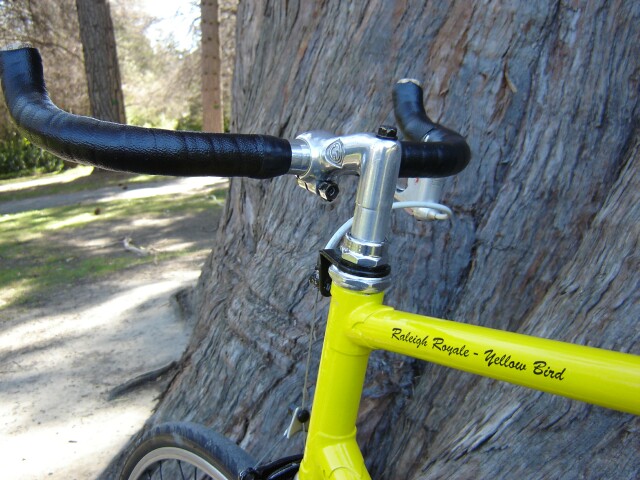
I used water slide decal paper in a black and white laser printer and created some nice decals promoting the fixedgear website. Printing the decals in black worked pretty well. This gave quite a lot of contrast against the yellow frame. Apparantly black and yellow are the two colours that the human eye perceives as having the most contrast. It is worth noting something pretty obvious here; it's not possible to print white with a laser printer. This means white decals on a dark coloured frame is out of the question unless you print them by some other means than a laser printer. As the last stage in the painting I wanted to apply a clear coat over the top of the decals. For this I bought Glisten-PC, another product in the POR-15 range. It was just a matter of waiting for some fine weather to apply the clear coat. |
|
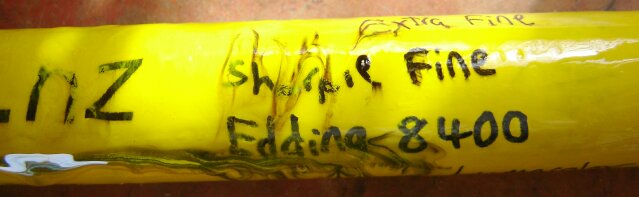
In order to test the effectiveness of the clear coat I first painted a dummy tube with the same Fiddly Bits yellow paint and put a few decals on it. I decided I'd like to highlight the lug-work on the frame, and thought an ideal way to do this would be to used a permanent marker to draw around the lugs before applying the clear coat. So using all the markers at my disposal I wrote a bit of test text from each on the test tube. |
|
|
|
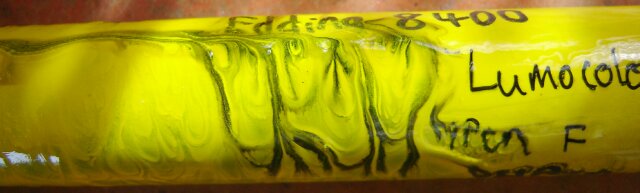
A fine day eventually arrived and I mixed up the two-part clear coat. I applied the clear coat over the test tube and much to my horror the yellow paint and the permenent markers melted away. When I had asked about the compatibility of the clear coat over enamel the sales person at the shop didn't know. I guess this answers the question. So now I've made a mental note to only use POR-15 products with other POR-15 products! With time speeding by, and wanting to get the job done in a reasonable amount of time, I decided to wing it and use whatever I could find in the paint box. |
|
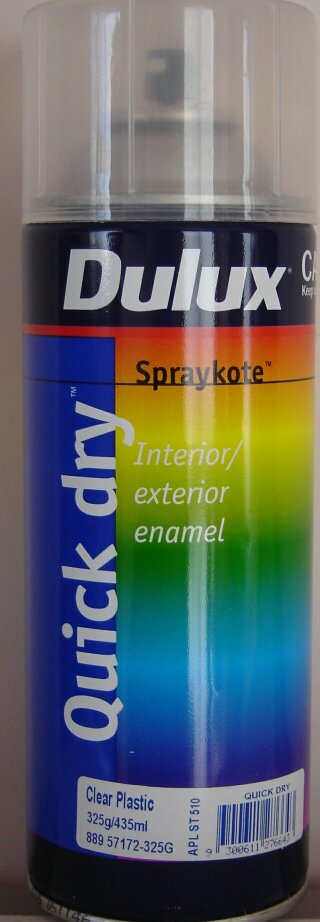
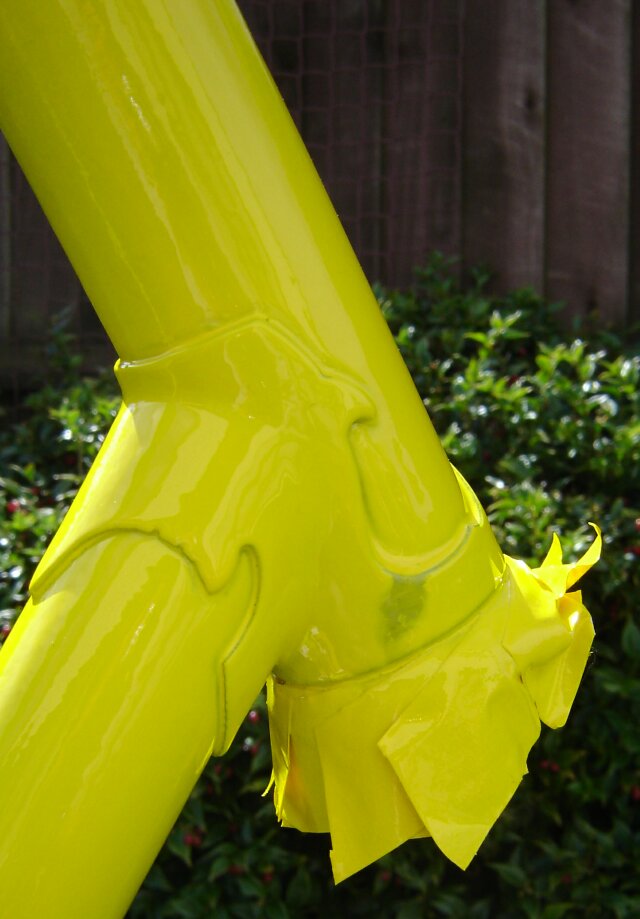
Rummaging around, I found a new can of Dulux Clear Plastic enamel and a partial can of Plasti-kote hi-performance classic lacquer. The lacquer warned against possible adhesion issues so I decided to put that on the forks; if they dissolved I could always paint them black as a last resort. The frame would get the clear plastic that had no such warning. The plastic lacquer went on well without any bad effects and I put the forks aside to dry. Next, I put the clear plastic on the frame. On the head tube I was just a little bit too heavy handed and all the paint started to dissolve and run. Egads! Murphy was definietly having fun with me today! |
|
A close inspection of the entire frame revealed that just the head tube was affected. I waited for the coat to dry, masked up the decals and put down some more yellow. After that dried, I removed the masking and put on, very carefully, some of the clear plastic. A light dusting seemed to go on OK. At this point I decided to stand back and not to try anything more, lest it end in complete disaster. |
|
|
|
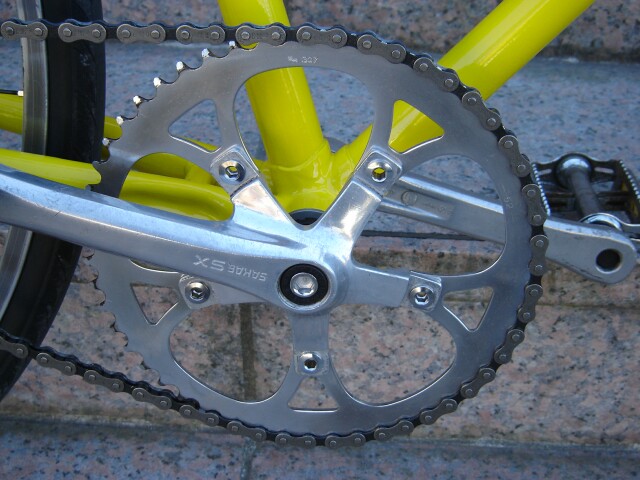
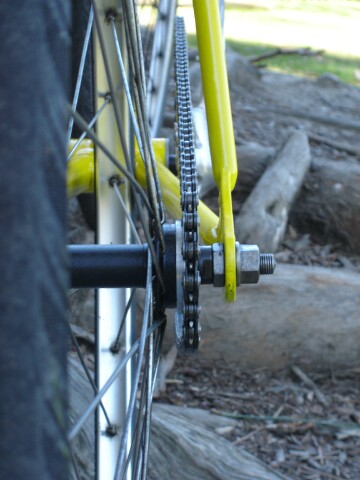
While waiting a few days for the paint to dry on the frame, I decided to clean up what parts I would be re-using. The Raleigh cranks and chain-ring could not be re-used because they would only fit on the old Raleigh bottom bracket. I found some old Sakae cranks and 52 tooth chain-ring in my parts box. These cleaned up quite well. The old Raleigh headset, stem and handlebars also came up well after being cleaned with abrasive metal polish. I decided to paint the old Raleigh front brake, so now it's POR-15 black. Wheels I happened to have lying around. They're old 36 spoke clincher rims. The rear one had to be re-dished to get the chain-line right for the new crank. |
|
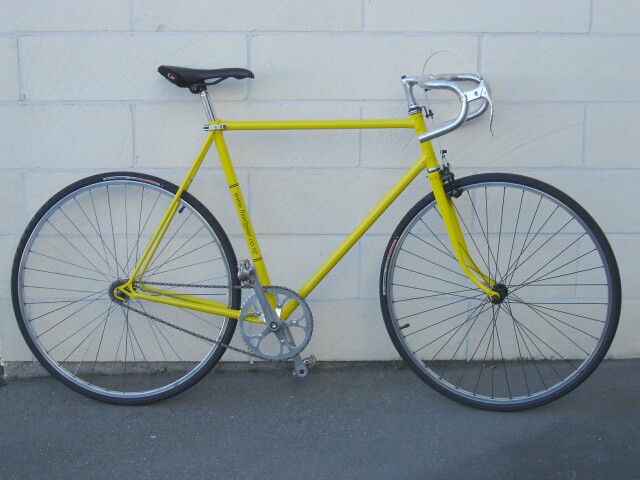
I decided to stop at 12 hours; this is the bike you see at the top of the page. I still want to make a few small changes. The handle bars are to be chopped and flopped. I also used whatever rear sprocket I had handy. This turned out to be a 16 tooth, giving a gear size of 87 inches. That's far too large for general use in the city, even a flat city like Christchurch. With the 19 and 20 tooth sprockets that I have ordered from Harris Cyclery, the bike should have a much lower gear - 73 or 70 inches. Update: 13 October 2007. My latest order from Harris Cyclery turned up in just under two weeks. Now the bike has a 20 tooth rear sprocket, which translates to a gear of about 70 inches. I have also flopped and chopped the bars; cut down wine bottle corks make great bar plugs! |
|
Questions and comments regarding this bike can be sent to

More fixed-gear content at www.fixedgear.nz
(c)opyright 2007
Martin van den Nieuwelaar,
Last updated 17 Apr 2008
